Friday, May 6, 2022

Wood Burning Stove part 2

This is our wood Burning Stove.
As you can clearly see it's made by Fisher.  They made 5 different stoves back in the day:  The Baby Bear, Momma Bear, Daddy Bear, Grandma Bear and Grandpa Bear.  They got bigger in size and spatial area that they heated.  
At the time we bought this...over 40 years ago now, we lived in a house that was built in 1917 and was about 900 sq ft.  It had shiplap  on the outside walls and then there was the framing and then there was 1/4" sheetrock and then 1/4" panelling.  No insulation!!
We always knew that we would heat the house with a wood burning stove but we didnt want to buy it until it was needed.  Oh how well do I remember the day we did buy it.  It was a Saturday and we both woke up at the same time because we were freezing and as I said " Good Morning" frost came out of my mouth and we both said at the same time: "Today, we buy the stove!" 
We'd been studying on them for a while and decided that the momma bear would be perfect for our needs now and into the future.  And so that is what we got.  
The log home had central heat and air but 9 times out of 10 we'd turn the unit to fan and light the stove.  Theres just something about coming in from the cold and back right up to this lovely heat that tickles me to no end.  It's not at all like a fireplace where your front is freezing and your back is burning.  This is overall warmth with no hot spots.  This small stove heated that 1850 sq. ft. story and a half house with no problem.  In fact we had to learn how to build smaller fires in it because the house was so well insulated that a big fire would have us down to our nickers because it was too hot.  But we found our sweet spot and with a large bed of coals we could put on a fairly large log, turn the dampers to just a crack and stay warm and toasty on a below freezing night to almost midday the next.  Its a wonderful stove and I love it!.
Heres Bob finishing up on the inside.  
Ta Da!
And the outside up on the roof!
Jobs done but it was a bitch to do.  Glad that is over.  

Wednesday, May 4, 2022

Interior Doors, trim and stain

So our back door with the clear glass got delivered the same time as the trim and plywood for shelves.
See, there it is, ain't it purdy.  I think it made a world of difference.  
That's the trim, all routed just like we wanted it.  Nothing fancy, just a simple rounded top.  Theres a method to the madness here.  This is what we did in the house we used to live in.  We did it because it was simple and it was the only router bit Bob had for his router.  But it was a blessing in disguise.  It made for really easy cleaning.  No nooks and crannies for dust and dirt to get stuck in.  Just a quick wipe with a sock sprayed with Endust or whatever you use...Swiffer...Ostrich feathers...and it was clean.  Easy.  And I'm not as young as I used to be so easy cleaning is what I am after.  
These will be stained and then sprayed with a polyurethane type sealer.  And if luck holds they will all be done by the time the trim guys are back which is Thursday and we can start trimming out some rooms.  The difference that the doors made was amazing...just wait till the trim goes down.
In another piece of news we have a tentative move in date...June 1.  Pretty exciting...its only been a 15 month build and by June it will be 16.  That's a bit ridiculous in anyone's book and there will be a discussion with the GC when we settle up our account.  At this point he owes us more than we owe him.  
Here's the trim all stained.  Next it gets a clear coat and I think sanded and then a second coat.  Stain has to dry for 24 hours but the clear coat just takes about an hour.  I dont think the trim guys will have anything to work with when they arrive tomorrow cause they just finished staining today.  It's been very humid and it's taking a while for things to dry.  I'm not gonna complain cause we desperately need rain!!

Tuesday, May 3, 2022

Fixes

So I was wrong about one of the faucet problems.  I'll admit it.  I was wrong!  
This faucet.
That extension piece is actually supposed to stick out of the wall like that.  The reason I didnt know. was that it's got bits of tile grout and mastic on it.  The plumber or maybe even the tile guy should have taped it up so that it didnt.  I cleaned them up and then had to go and buy some paint to touch up where when cleaning it took the paint off down to the brass.  
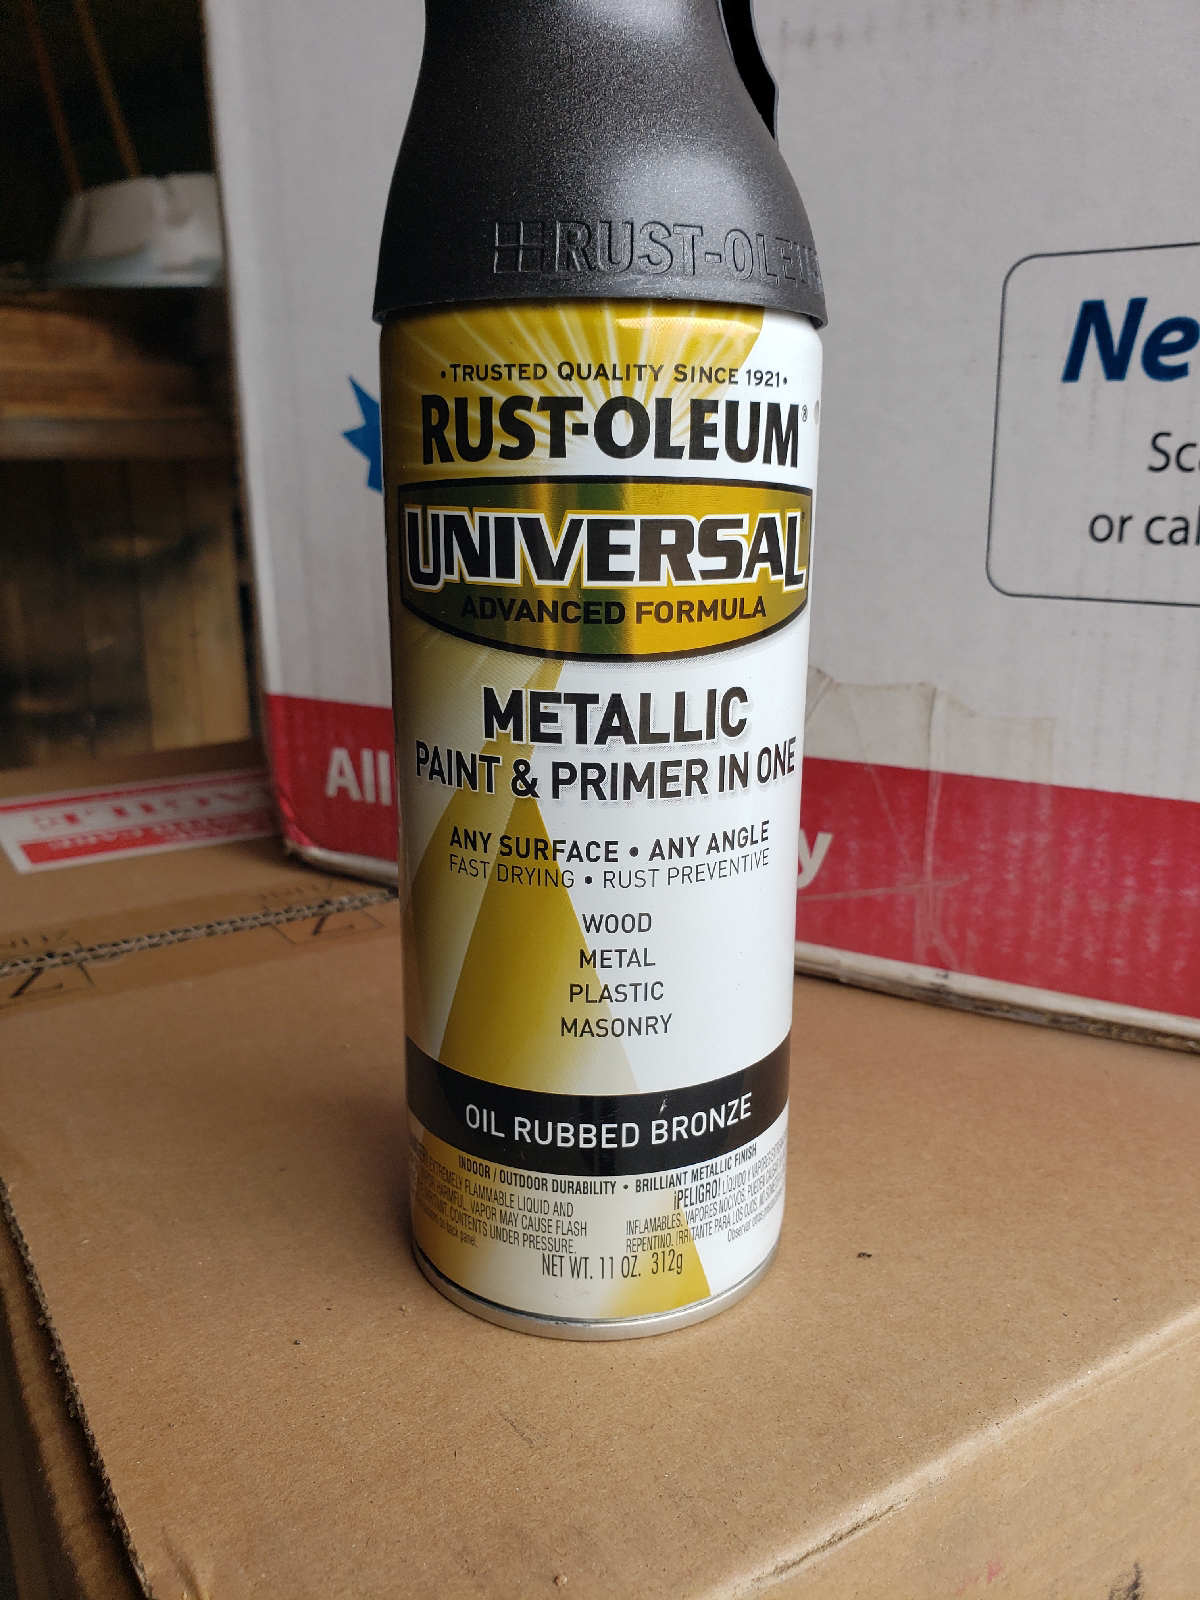
Just FYI, if you need a touchup on Oil Rubbed Bronze then this stuff is the bomb.  Only I and you dear readers will know that I had to touch up a couple of places.  It's a little frustrating to know that most subs dont give a rats ass about your home.  It's just a job to them and so there is little forethought about protecting your stuff.  Kinda sad.
Heres the other faucets with the fix.
A huge Thank You to my hubby for thinking this through so we didnt waste any more money than we had to.  Those eschusions were over $7 bucks apiece.  It's not much in the whole scheme of things but its $15 dollars we shouldn't of had to spend.  But we've fixed yet another issue.
In the meantime look what was delivered.
Ta-da!  That's all the trim for the house and the plywood is for the shelves in the pantry, closet shelves in guest bedrooms and shoe cubby for Bob and I in master closet.  We have a bunch of ClosetMaid stuff that we will use as shelving and clothing racks so they didnt need to do much for that.  
Next post should be about the routing of the trim and stain. 


Friday, April 29, 2022

More issues

I swear, if Bob and I weren't keeping an eye on things this build could go south in a hurry.
The latest fiasco has to do with the faucets in the guest shower and the faucets on the tub surround.
Because we are getting antsy I decided that I wanted to see how the faucet sets I choose would look.  I'm perfectly capable of putting them on and honestly I couldn't think of a single reason not to...so I did.
Hello, Houston, we have a problem.
For some reason known only to him ( tile guy) he made one hole round and the other square but these faucets ( which I might add have been down there the whole time) do not have an eschucion or in layman's terms they sit directly on top of the tile.  So you can see by looking at the pictures the base of this does not cover the hole he made.  I wanted that one piece of tile replaced...I have a ton of this bull nose and plenty of grout.  The NEW tile guy suggested we just get an eschucion and paint it.  Easy fix.  So I'm guessing that's what we are going to do.  The other issue is in the shower.
You see where the arrow is pointing?  Unless I'm mistaken most of that should be in the wall not outside the wall.  The plumber is supposed to be coming today to take a look.  I'm hoping I'm wrong but I dont think so.  This fix is not easy....they are gonna have to break down the wall behind this and Kirby will have to pull everything back.  Which means, sheetrock repair, texture and painting. Just more delays.  I havent been fond of Kirby as a plumber.  I think hes lost his edge and isnt paying attention to things that he should be. Not my fault as the fixtures have been down there since he started.  I dont have a problem saying something is my fault when it is, but this is definitely not my fault.  I'll keep you posted on the fixes once they are decided.

Friday, April 8, 2022

Concrete Acid Staining part deux

I went to the grocery store expecting to get the riot act from the sub about doing the work of his crew but nothing came through so by the time I got home they had put the acid down on the floor and it was working its magic.  
This sits on the floor for 24 hours and then they come back and neutralize the acid with a mixture of baking soda and water.  That gets all vacuumed up and the floor dries for 24 hours before they put the sealer on it.  2 coats of sealer are applied and then the floor gets covered up to protect it further from what construction is is still going on.  Floor is completely uncovered when you want but at least 2 days after final coat of sealer is applied.
This is right before the floor was covered up.  Looks like Monday we meet with finishing trim guys and get that part started.

Sunday, April 3, 2022

Concrete acid stained Floor

So most homes these days are built on a concrete pad called most commonly called a "slab".  Depending upon which way a slab is finished will determine how and what kind of treatment you can do to it later on.
Because we knew we would be acid staining it then we had them put power trowels on it to semi polish it up.  As it starts to cure you get a bit of dust on top of it that is very white and gets on EVERYTHING.  Some of it blows off or gets tracked off but a lot of it just stays put until they start framing and actually working on the slab. 
So now we are at the point that we are going to be acid staining the floor.  A crew comes in and power washes the floor, scrapes up all the paint, texture mud and anything else that might not cause the acid to do its thing.  Then they take a polisher and polish to get up more of the dust and dirt. Vacuum that up, mop and mop again.  Floor should be squeaky clean by this time.  Then they do the wall prep. 
This is what it looks like.  That's to protect the walls from any splashing that might occur.  If they are an experienced crew then this should all be kept to a minimum but you cant always count on that.  
The prep people that they sent arrived around 1:30 ish p.m. and were gone by 2:30.  I mean, why even bother coming?  They were here the next day by 7:30 but were on the back porch smoking when I went down around 9:30 to check on progress.  I was hoping that we would be ready for stain on Monday but they were gone by 2:30 ish.  I guess I just come from a different era where you worked a full day.  I dont understand this half day working at all.  And of course they had about 1/3 of the house prepped.  
So I sent a text to their boss asking if this was just a crew that worked part time or was this how this all worked?  I also asked him if he would mind if I went down there and finished up what they had started.  I really felt like I could finish what needed to be done ( by myself) by weekends end.  Never heard from him so I went ahead and started.  
I'm 67 years young.  I have back issues that I have to watch or I'm flat on my back for a week.  And I still managed to get done in one day with breaks what it would have taken them 3 or 4 days to get done.  I'll admit it was slow going at first, but you find out what works for you and you develop a system that works for you.  I'm all about efficiency and taking less steps to accomplish the same task and have it just as good or better than it was supposed to be.  So I found a system that worked for me and managed to complete the rest of the prep work in the house.  I have NO IDEA how the crew is gonna feel about it but Monday is grocery day and I will not be here.  Sometimes you just gotta take the initiative and do the job yourself.  We've been far too delayed by everything and I want to be be in this house before June...its April 3rd....

Friday, April 1, 2022

Solving issues

So I thought this post was gonna be about the process for the acid stained concrete floors but what was supposed to be a Monday start turned into a Thursday.  That's tomorrow and we have issues to deal with today.  
So there sits our wood burning stove.  A stove we bought over 40 years ago and have used every single winter.  Love being able to step on the hearth and back up to the lovely heat coming from it.  Unlike a fireplace where you get one side of your body warm at a time this little stove radiates heat all around itself so you get a very nice overall warm feeling.  
But I digress, we have an issue that we need to deal with.  And that is...a few weeks ago our second in charge GC told us that the GC was not going to be installing the stove pipe for this.  Mind you hes known from the beginning that we were putting this in.  And if we had to do it ourselves that is not a problem either except at this stage of the build it is a problem.  Not cool Ronnie, not cool.  
If we had known from the beginning that we were going to be installing it would have been done right after the framing and before the sheetrock and foaming.  Would have been an easy job, half an hour or less and it would have been taken care of.  
See that tiny little black mark to the left of the top of the ladder?  
Yes, that mark right there.  That is the center of where the stove pipe needs to hit.  And the pipe is centered into a transition box that protects all the surrounding sheetrock and framing and foam from the heat going up the flue.  And it's also centered EXACTLY between 2 rafters.  It's got to be exact.  
We found this spot by taking a measurement from the stove and marking an X on the hearth.  Then we dropped a plumbob from the ceiling down and moved it till it was directly over that X.
This is a plumbob.  It's an old tool but so useful.  Filled with lead and used in various applications but theres nothing else that will do the job.  
This is the space we are working in.
You can see, it's not spacious and in the last picture..
That short 2 x 4 that's on the left...that is EXACTLY where we need to be.  The 2 x 4 is scabbed onto the rafter and all we can figure is that it's where some sheetrock fell funny and had to have extra screws.  
Bob has figured out that just the very end of that board needs to come off and we will be silver...not golden yet cause job isn't done. 
Plumbob was dropped. Center was marked the the transition box was measured ( twice) just to be absolutely sure.  Then 4 corner holes were drilled.
This is my dad's old dremel tool.  Bob and my dad had a mutual admiration society going for each other in figuring out ways to fix things.  He and my dad once consulted each other for weeks about tubing my dad needed to use to build an air powered air brake system for one of the model airplanes he was building.  But I digress.  He used this to cut off just an inch of that scabbed 2 x 4 without cutting unnecessarily into the sheetrock.
There are the 4 holes he will use as his guide.
And here he has started his first cut.
Success!  Hip, hip horay!  It's done.  Just a very small amount of the paper torn but the trim piece for the box will cover that.  Now to go from the top up thru the roof.  But that's for another day.  We need to order stove pipe in order to get our alignment correct.