
I am woefully behind on this blog so I'll try to catch you up fairly quickly.
The guy we hired ( who came with glowing recommendations) we ended up firing because he was so painfully slow and inaccurate that he just had to go. Bob and our friend Keith finished up the job.


 We've also been dealing with our dog. She acquired an autoimmune condition almost a year ago. About 6 months ago she started to have some issues with not wanting to eat so we had her to the Vet. They did an ultrasound and saw no masses or anything like that but said the outside of her liver looked strange. Was this an aging process ( she's 14) or is this another part of the autoimmune disease. It's called Reactive Cutaneous Histocytosis. That was about 6 months ago and she had some good months but she has been steadly losing weight and I'm feeding her whatever she wants. Sometimes its chicken, sometimes plain rice or potatoes, sometimes tuna or turkey. It's been a struggle to get her meds into her lately and I'm not about to fight her. Bottom line is that we can't cure what is wrong and I want her last days to be pleasant memories of doing what she wanted and eating what she wanted and not fighting to get pills down.
Thought I'd taken some pics of the sheetrock being done but I guess not. Then the guy came and did the taping and floating and I went to the store and picked out paint for the walls, ceiling and cabinets.
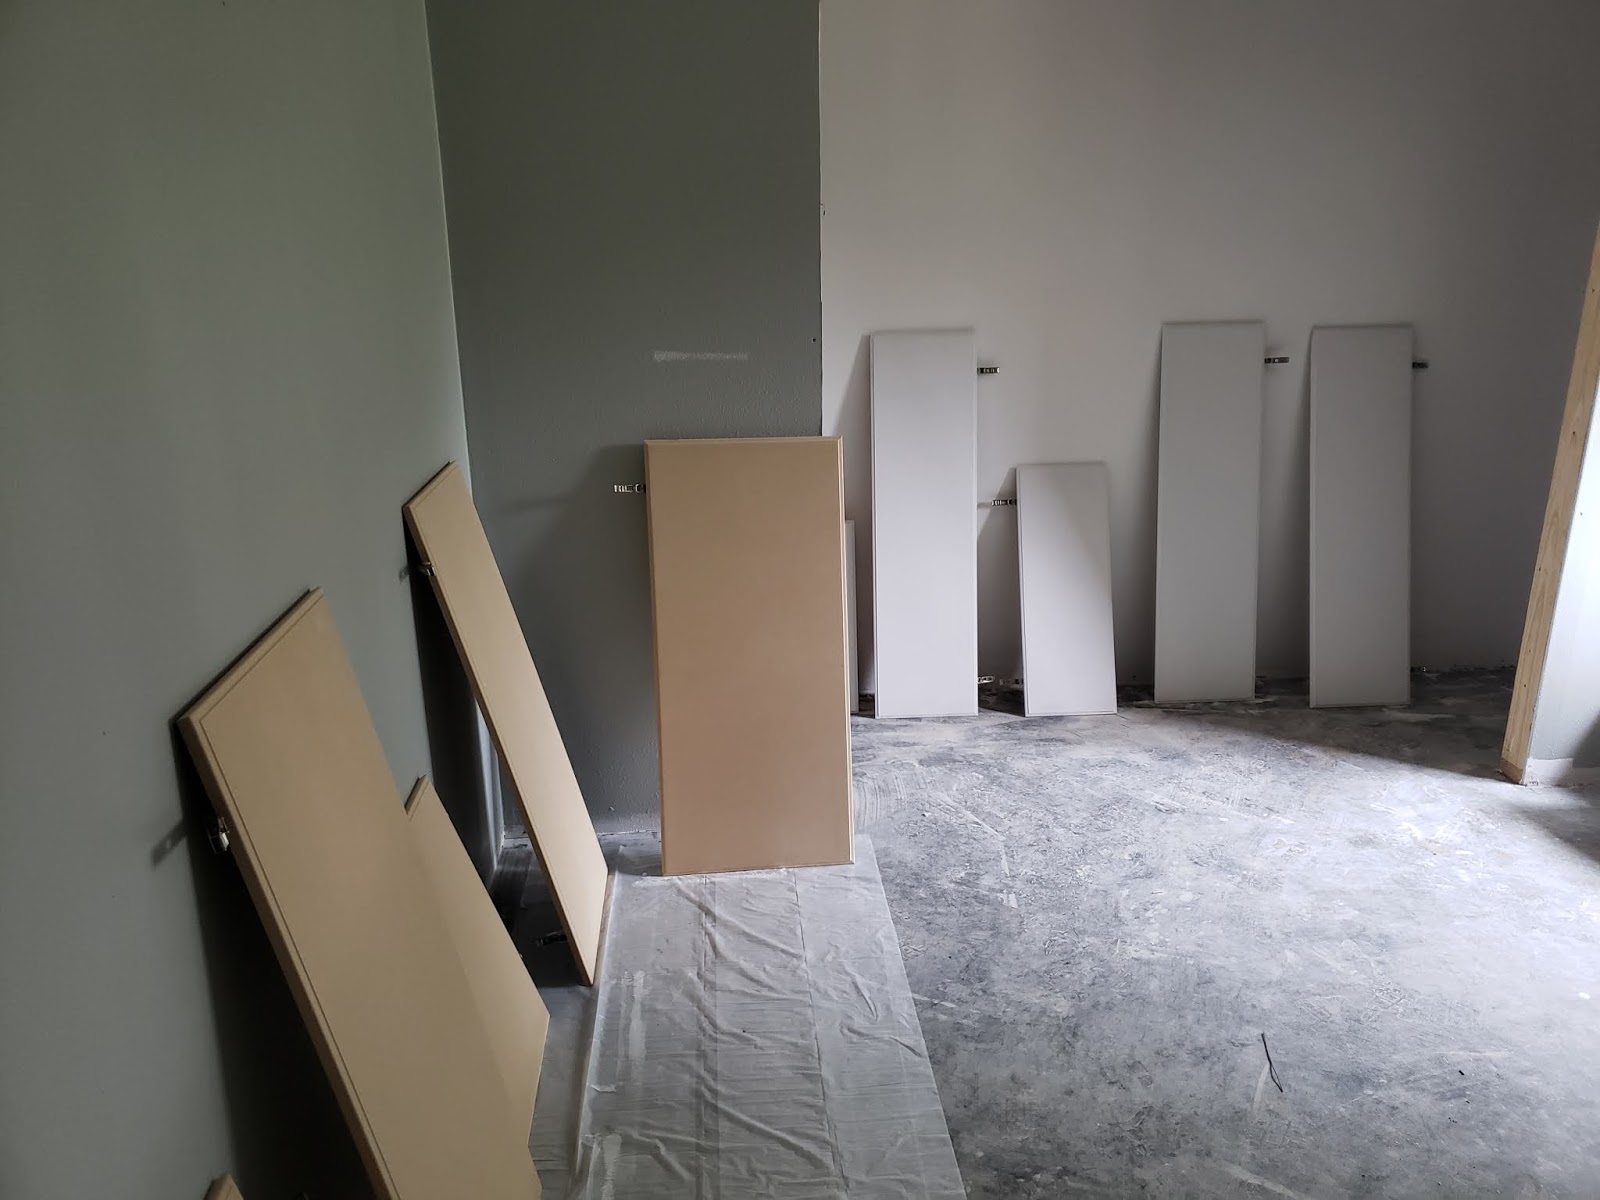
The walls are Granite Dust...it's a real lovely gray color with the trim being white. The cabinets which I had made in Jarrell, TX are being painted a darker Gray. I think the name of the paint was like Ultimate Gray. It just "pops" as the decorators like to say. But these are pics of the priming and then the painting and then the placing.


Next 2 pics are of us building the framework for the bedroom closet. Still trying to decide what kind of door(s) to put on and I think we have it narrowed down to a biofold door with 2 lights with pull chains on the inside.


of the second "bedroom" which is Bob's Hobby Room. He was able to scroung a bunch of old fencing and some old tin. The fencing became the walls and the tin is the ceiling. Makes for an interesting room. This will have all our game mounts on the walls and the room will hold his bow bench (for all his bowhunting equipment) his gun reloading bench (for all his gun related stuff) and his flyfishing table (for all his flyfishing supplies and fly building material). The room is quite dark and we may end up cutting in a window....but that's not something that needs to be done immediately....and we want to put in a different kind of light fixture and that also does not have to be done immediately. Next pic is of the bathroom. What can I say....it's a bathroom.


 Some of you may be wondering what type of treatment we had done to the floor. It looks pretty neat in the pictures...well, sad to say that this is just left over from when the tape and float guys did their work. Most people don't ever see this cause it's covered up by wall to wall carpeting but we aren't going to have anything but area rugs and I can only get down on my hands and knees and scrub so much at a time. It's getting clean but it's taking it's time. Last pic above right is the outside wall of the living quarters. It's actually inside the shop....looking at this picture one of our 3 overhead doors is directly to your right....I have another picture somewhere that shows you if you are confused. And you can also see in this picture that we have made good use of the used tin and fencing.
I think part of the reason that I don't have all my pictures together is that somewhere in the midst of all this choas I got a new phone and then the "Pandemic" happened and I couldn't get to the phone store to have them transfer everything from one to the other. Even the cloud stuff didn't transfer automaticaly....I don't know why but it didn't...Hopefully soon I will be able to get that done and this blog will recognise this new phone and I can just transfer from there. Hopefully.


